There’s something undeniably satisfying about the crunch of a tortilla chip. Whether you’re dipping it into a bowl of fresh guacamole, scooping up spicy salsa, or just munching on it straight from the bowl, tortilla chips have a way of making any moment feel like a mini fiesta. But let’s be real—store-bought chips can sometimes leave you feeling a little guilty with their greasy residue and sky-high sodium content. That’s where homemade baked tortilla chips come in. They’re crispy, customizable, and so much healthier than their fried counterparts. Plus, they’re ridiculously easy to make. At Cookshouse, we’re all about bringing joy to your kitchen, and this baked tortilla chip recipe is guaranteed to do just that.
In this post, I’m sharing everything you need to know to whip up a batch of baked tortilla chips that are just as crunchy and delicious as the ones you’d find in a restaurant. From choosing the right tortillas to mastering the perfect seasoning, I’ve got you covered. I’ll also throw in some tips for serving, storing, and even pairing these chips with your favorite dips. So, grab your apron, preheat that oven, and let’s get cooking!
Why Make Baked Tortilla Chips?
I’ll admit it—I used to be a die-hard fan of store-bought tortilla chips. They’re convenient, right? But one day, I was craving chips and realized I had a stack of corn tortillas sitting in my pantry, just begging to be used. That’s when I decided to try baking my own. Let me tell you, it was a game-changer. Here’s why you’ll love making baked tortilla chips at home:
- Healthier Option: Baking instead of frying cuts down on oil and calories without sacrificing flavor. You control the ingredients, so you can keep the salt and additives in check.
- Customizable Flavors: Want a hint of lime? A kick of chili powder? The world is your oyster (or, you know, your tortilla chip). You can season these chips however you like.
- Budget-Friendly: A pack of corn tortillas is way cheaper than a bag of chips, and you can make a ton in one go.
- Eco-Friendly: No plastic bags or wasteful packaging—just simple, wholesome ingredients.
- Fun and Easy: This is a recipe you can make with kids, friends, or even as a solo kitchen adventure. It’s quick, simple, and oh-so-rewarding.
Plus, there’s something so satisfying about pulling a tray of golden, crispy chips from the oven, knowing you made them yourself. It’s like a little kitchen victory dance every time.
Ingredients for Baked Tortilla Chips
You don’t need much to make these chips, which is part of their charm. Here’s what you’ll need for a basic batch (makes about 4-6 servings):
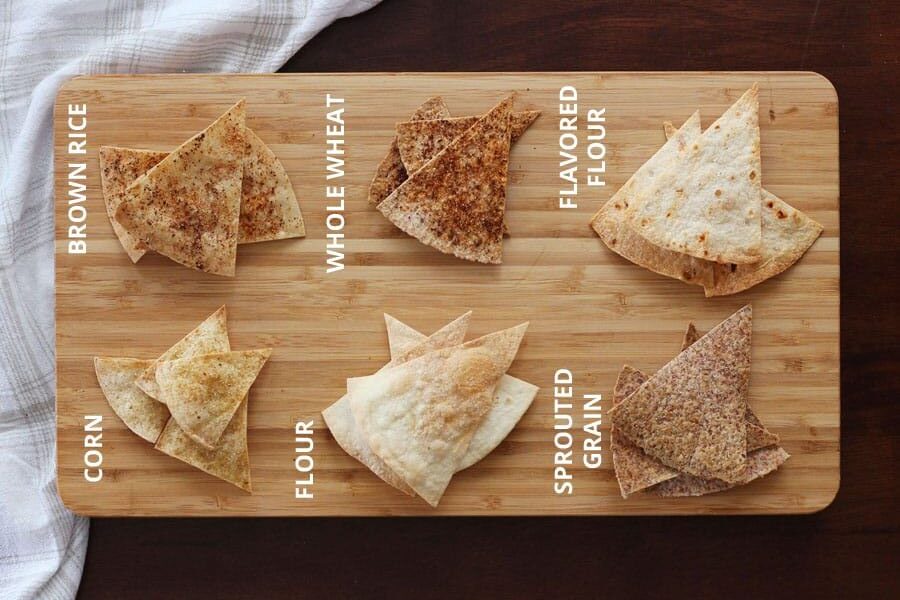
- Corn Tortillas: 8-12 small corn tortillas (6-inch size works great). Look for ones that are 100% corn for that authentic tortilla chip flavor.
- Olive Oil or Cooking Spray: About 1-2 tablespoons of olive oil, or use a cooking spray for an even lighter option.
- Salt: A pinch or two of sea salt or kosher salt. Adjust to taste.
- Optional Seasonings: Chili powder, smoked paprika, garlic powder, cumin, or lime zest for extra flavor. Get creative here!
That’s it! You probably already have most of these in your kitchen. If you don’t have corn tortillas, flour tortillas can work in a pinch, but corn gives you that classic tortilla chip taste and texture.
Step-by-Step: How to Make Baked Tortilla Chips
Ready to get started? This recipe is so simple, you’ll wonder why you haven’t been making these forever. Here’s how to do it:
Step 1: Preheat Your Oven
Set your oven to 350°F (175°C). If you’re using a convection oven, you might want to lower the temperature slightly to 325°F (165°C) since convection ovens cook a bit faster. Line two baking sheets with parchment paper or silicone baking mats for easy cleanup.
Step 2: Prep the Tortillas
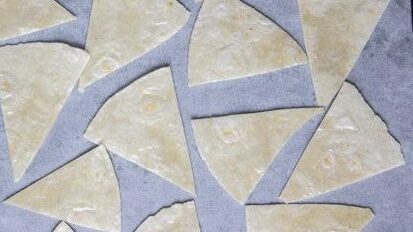
Stack your corn tortillas and cut them into wedges. I usually go for 6 wedges per tortilla (like cutting a pizza), but you can make them smaller or larger depending on your preference. A sharp knife or pizza cutter works great for this. If you want fun shapes, you can even use cookie cutters for special occasions—think star-shaped chips for a party!
Step 3: Season the Chips
In a large bowl, lightly toss the tortilla wedges with olive oil. You want just enough to coat them lightly—too much oil can make them soggy. If you’re using cooking spray, give each side a quick spritz. Sprinkle with salt and any other seasonings you’re using. For a zesty twist, I love adding a pinch of chili powder and a squeeze of fresh lime juice. Toss everything together to ensure the seasonings are evenly distributed.
Pro Tip: If you’re making multiple flavors, divide the tortilla wedges into separate bowls and season each batch differently. It’s like a chip buffet!
Step 4: Arrange on Baking Sheets
Spread the tortilla wedges in a single layer on your prepared baking sheets. Make sure they don’t overlap too much, as this helps them crisp up evenly. If you’re making a big batch, you may need to bake in batches.
Step 5: Bake to Perfection
Pop the baking sheets into the oven and bake for 15-20 minutes, flipping the chips halfway through. Keep an eye on them toward the end, as they can go from perfectly crispy to slightly burnt in a flash. You’re looking for a golden-brown color and a firm, crunchy texture. If some chips are done before others, feel free to pull them out early.
Step 6: Cool and Enjoy
Let the chips cool on the baking sheets for a few minutes. They’ll continue to crisp up as they cool. Once they’re ready, transfer them to a bowl and get ready to dig in!
Tips for the Crispiest Baked Tortilla Chips
Over the years, I’ve made my fair share of tortilla chips, and I’ve learned a few tricks to get that perfect crunch every time:
- Use Fresh Tortillas: Stale tortillas can work, but fresh ones give you the best texture and flavor.
- Don’t Skimp on the Flip: Flipping the chips halfway through baking ensures both sides get crispy.
- Watch the Oven: Every oven is different, so check your chips a couple of minutes early to avoid overcooking.
- Experiment with Thickness: Thinner tortillas make lighter, crispier chips, while thicker ones are sturdier and great for heavy dips like queso.
- Season Immediately: Sprinkle your seasonings right after adding the oil so they stick better.
Flavor Variations to Try
One of the best things about homemade tortilla chips is how easy it is to switch up the flavors. Here are a few ideas to inspire you:
- Lime and Chili: Add lime zest and a pinch of chili powder for a tangy, spicy kick.
- Garlic and Herb: Mix in garlic powder, dried oregano, and a touch of rosemary for a savory twist.
- Cinnamon Sugar: For a sweet treat, brush the tortillas with a tiny bit of melted butter and sprinkle with cinnamon and sugar. These are amazing with a fruit salsa!
- Smoky Paprika: A dash of smoked paprika gives the chips a rich, barbecue-like flavor.
- Everything Bagel: Use an everything bagel seasoning blend for a trendy, savory option.
Feel free to mix and match or come up with your own combinations. The possibilities are endless, and it’s so much fun to experiment!
Serving Suggestions
Baked tortilla chips are incredibly versatile. Here are some ways to enjoy them:
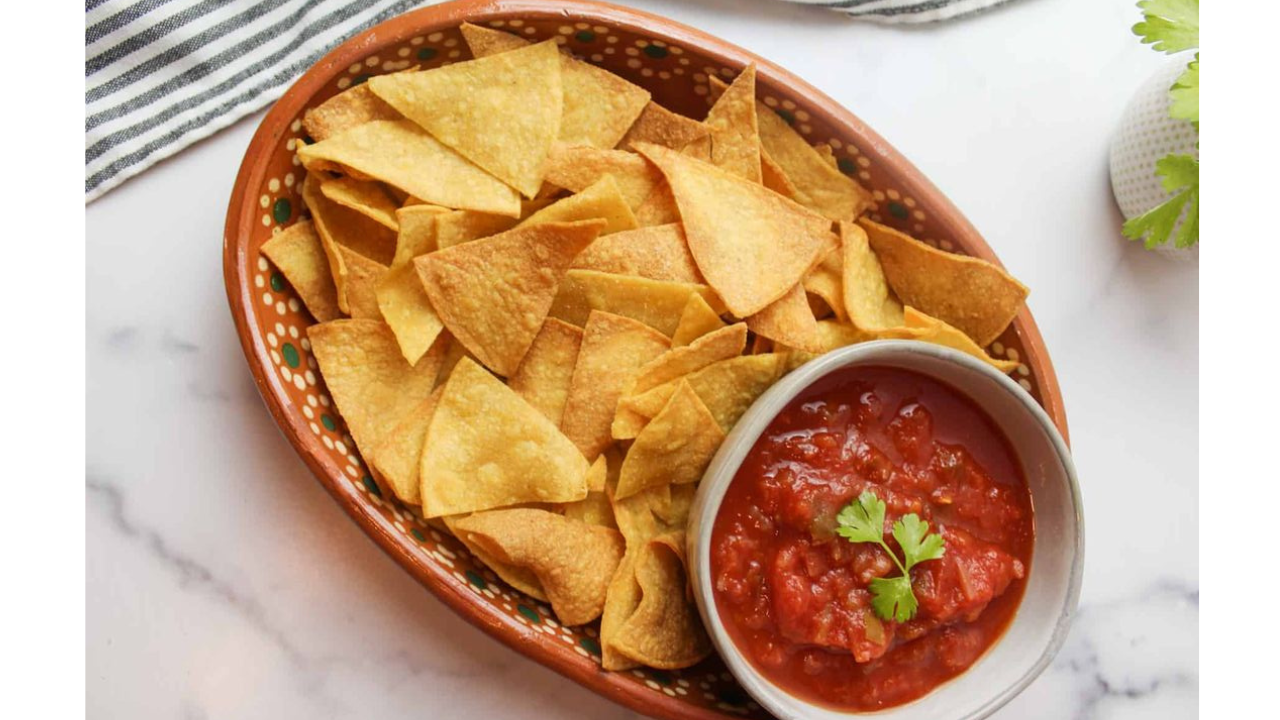
- With Dips: Pair them with classic guacamole, salsa, or queso. For something different, try hummus, black bean dip, or a creamy spinach artichoke dip.
- Nacho Style: Load them up with shredded cheese, jalapeños, black beans, and diced tomatoes, then pop them back in the oven until the cheese is melty and bubbly.
- As a Snack: They’re perfect on their own, especially with a sprinkle of your favorite seasoning.
- With Soups or Salads: Crumble them over a bowl of tortilla soup or a taco salad for extra crunch.
I love serving these at gatherings because they’re always a hit. Last weekend, I made a batch for a family game night, and they disappeared faster than I could say “salsa.” My cousin even asked for the recipe, which is always a sign of success in my book!
Storing Your Baked Tortilla Chips
If you somehow manage to have leftovers (no judgment if you don’t!), store your baked tortilla chips in an airtight container at room temperature. They’ll stay crispy for about 3-4 days. Avoid storing them in the fridge, as the moisture can make them soggy. If they start to lose their crunch, you can pop them back in a 350°F oven for 3-5 minutes to revive them.
Why This Recipe Fits the Cookshouse Vibe
At Cookshouse, we’re all about making cooking approachable, fun, and full of flavor. This baked tortilla chip recipe checks all those boxes. It’s simple enough for beginners but versatile enough for seasoned cooks to put their own spin on it. Plus, it’s a healthier alternative that doesn’t skimp on taste—something we’re passionate about sharing with our community. Whether you’re hosting a party, meal-prepping for the week, or just craving a snack, these chips are a winner.
A Personal Note
I’ll let you in on a little secret: I’m not always the most patient cook. I love recipes that come together quickly and don’t require a ton of fuss. That’s why I keep coming back to these baked tortilla chips. They’re my go-to when I want something homemade but don’t have hours to spend in the kitchen. There’s also something so rewarding about turning a humble stack of tortillas into a bowl of crispy, golden chips. It’s like a little kitchen magic trick, and I’m here for it every time.
Final Thoughts
If you’re looking for a snack that’s easy, healthy, and endlessly customizable, baked tortilla chips are the way to go. With just a few ingredients and about 20 minutes, you can have a batch of crunchy, delicious chips that rival anything you’d find at the store. Whether you’re dipping, scooping, or just snacking, these chips are sure to bring a smile to your face. So, next time you’re craving something crispy, skip the chip aisle and head to your kitchen instead. Your taste buds—and your wallet—will thank you.
Got a favorite dip or seasoning combo? I’d love to hear about it! Drop your ideas in the comments below, and let’s keep the tortilla chip love going. Happy cooking!